ใช้ JUnit 5 + Mockito บน Spring Boot

JUnit 5 เป็นเวอร์ชั่นล่าสุดของ JUnit framework ที่เพิ่มคุณสมบัติมากมาย แต่หลายคนก็ต้องใช้ JUnit สำหรับทำการทดสอบซอฟต์แวร์ที่พัฒนาด้วย Spring framework โดยเฉพาะอย่างยิ่ง Spring Boot และใช้ร่วมกับเครื่องมือ mock อย่าง Mockito ซึ่งวิธีการเดิมๆ ของ JUnit 4 อาจจะไม่สามารถใช้ในการ config ให้ JUnit 5 ทำงานร่วมกับ Mockito ได้ ดังนั้นบทความจึงจะนำเสนอวิธีการใช้ง่าน JUnit 5 ร่วมกับ Mockito ใน Spring Boot project
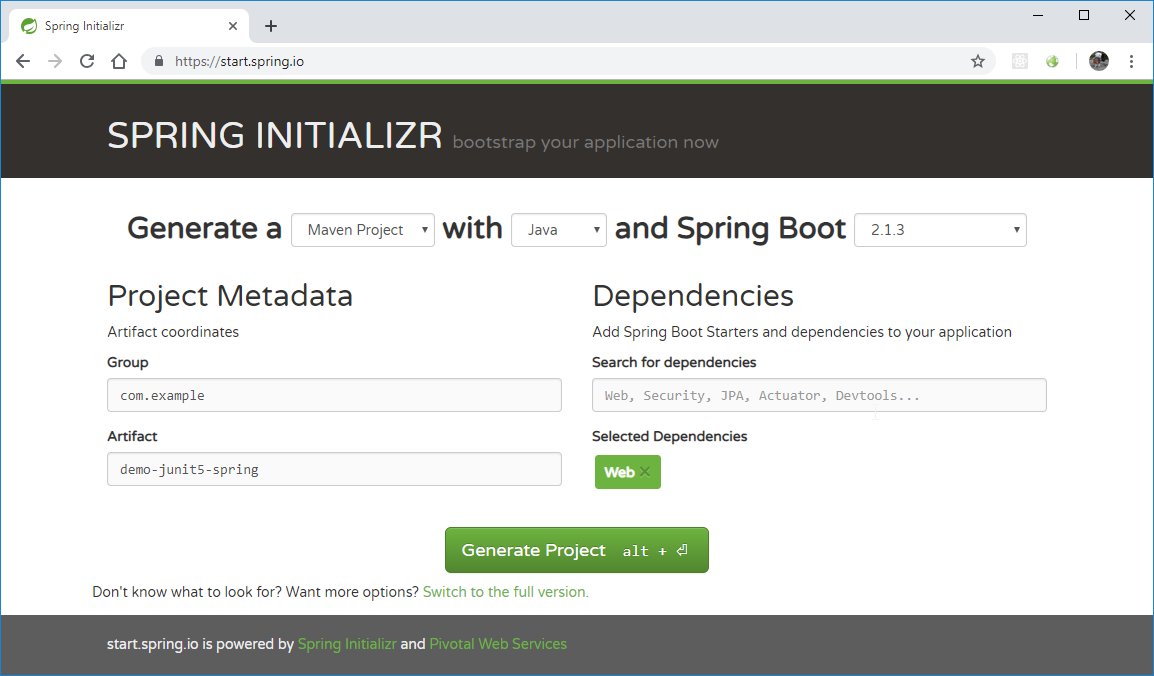
Create Spring Boot project
วิธีที่ง่ายที่สุดสำหรับสร้าง Spring Boot project คือใช้ Spring Initializr โดยในบทความนี้จะทำเป็น RESTful Web Service ดังนั้นจะเพิ่ม Web dependency เข้ามาใน project ด้วย
Install JUnit 5 & Mockito
เนื่องจากว่า Spring framework ยังไม่รองรับ JUnit 5 เป็นค่าตั้งต้นดังนั้นเราจะต้องเพิ่ม dependency ของ JUnit Jupiter และ Mockito
Maven
<!-- JUnit 5 (Jupiter) -->
<dependency>
   <groupId>org.junit.jupiter</groupId>
   <artifactId>junit-jupiter-engine</artifactId>
   <version>5.3.2</version>
   <scope>test</scope>
</dependency>
<dependency>
   <groupId>org.junit.jupiter</groupId>
   <artifactId>junit-jupiter-params</artifactId>
   <version>5.3.2</version>
   <scope>test</scope>
</dependency>
<dependency>
   <groupId>org.junit.jupiter</groupId>
   <artifactId>junit-jupiter-api</artifactId>
   <version>5.3.2</version>
   <scope>test</scope>
</dependency>

<!-- Mockito -->
<dependency>
   <groupId>org.mockito</groupId>
   <artifactId>mockito-core</artifactId>
   <version>2.23.4</version>
   <scope>test</scope>
</dependency>
<dependency>
   <groupId>org.mockito</groupId>
   <artifactId>mockito-junit-jupiter</artifactId>
   <version>2.17.0</version>
   <scope>test</scope>
</dependency>
Gradle
dependencies {
   implementation 'org.springframework.boot:spring-boot-starter-web'
   testImplementation 'org.junit.jupiter:junit-jupiter:5.2.0'
   testCompile 'org.mockito:mockito-core:2.+'
   testCompile 'org.mockito:mockito-junit-jupiter:2.18.3'
   testImplementation 'org.springframework.boot:spring-boot-starter-test'
}

test {
   useJUnitPlatform()
   testLogging {
      events "passed", "skipped", "failed"
   }
}
สร้าง Controller, Service และ Repository เพื่อการทดลองใช้ JUnit 5 กับ Mockito
@RestController
public class FooController {
    @Autowired
    private FooService fooService;

    @GetMapping("/")
    public String hello() {
        return fooService.bar();
    }
}@Service
public class FooService {
    @Autowired
    private FooRepository fooRepository;

    public String bar() {
        return fooRepository.get();
    }
}@Repository
public class FooRepository {
    public String get() {
        return "Hello";
    }
}
Unit Test
สำหรับ Unit Test เราสามารถใช้งาน Mockito ได้เลยแต่เปลี่ยนจาก @RunWith เป็น @ExtendWith ซึ่งเป็นการขยายความสามารถของ TestEngine ของ JUnit Platform ด้วย MockitoExtension แล้วก็สามารถใช้คุณสมบัติเดิมของ Mockito ได้เลย อย่างเช่น @Mock, @InjectMocks , @Spy
@ExtendWith(MockitoExtension.class)
@DisplayName("Demo Spring Boot with JUnit 5 + Mockito")
class FooServiceTest {
    @Mock
    private FooRepository fooRepository;

    @InjectMocks
    private FooService fooService;

    @BeforeEach
    void setUp() {
        when(fooRepository.get()).thenReturn("Hello Mocked");
    }

    @Test
    @DisplayName("Mock output of the BarService using mockito")
    void barTest() {
        assertEquals("Hello Mocked", fooService.bar());
    }
}
Integration Test
สำหรับ Integration Test นั้นเราใช้ @ExtendWith ด้วย SpringExtension เพื่อขยายความสามารถของ TestEngine และใช้ SpringBootTest ได้เหมือนเดิมเพื่อกำหนดให้ Test Class เป็นการทดสอบที่ใช้ Spring framework
@ExtendWith(SpringExtension.class)
@SpringBootTest(webEnvironment = SpringBootTest.WebEnvironment.RANDOM_PORT)
public class FooServiceIntegrationTest {
    @LocalServerPort
    private int port;

    @Autowired
    private TestRestTemplate restTemplate;

    @Test
    @DisplayName("Integration test of the BarService")
    void barTest() throws Exception {
        ResponseEntity<String> response = restTemplate.getForEntity(
                new URL("http://localhost:" + port + "/").toString(), String.class);

        assertEquals("Hello", response.getBody());
    }
}
สรุป
จากการที่ทดลองใช้ JUnit 5 กับ Mockito บน Spring Boot project นั้นส่วนใหญ่จะไม่แตกต่างจากการใช้งาน JUnit 4 กับ Mockito มากนัก อาจจะมีเปลี่ยน annotation จาก @RunWith เป็น @ExtendWith และ dependency ที่ต้องเพิ่มเองเท่านั้น